Setting up OneDrive
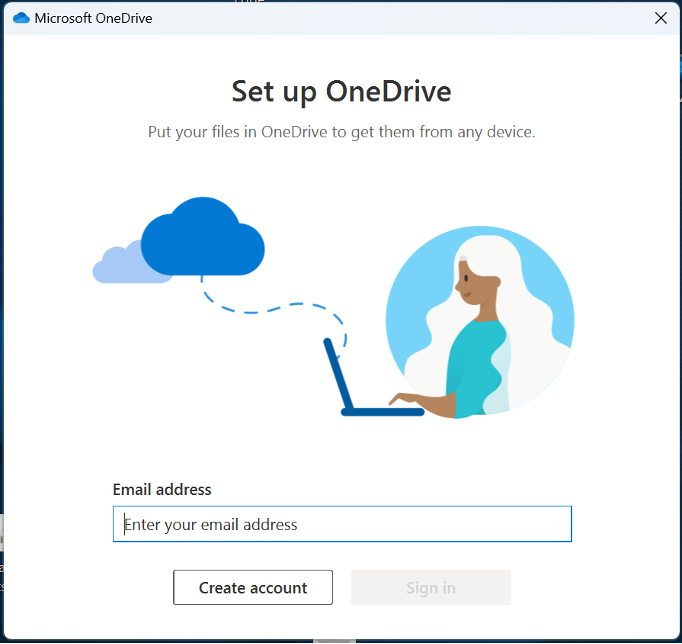
OneDrive is already loaded onto your new Windows 11 computer. Please follow these quick and easy steps to login to OneDrive and begin syncing files. View more detailed instructions on this page about using OneDrive.
A note about OneDrive: You may need to restart your computer for OneDrive changes to apply to your computer. Please also allow time for OneDrive files to sync to your computer, depending upon the amount of data.
1. Although you can always search for OneDrive in the Windows search bar, the easiest way to Connect to OneDrive is by clicking the icon in the taskbar on the lower right-hand side of your screen. If you can’t see the OneDrive icon, click the arrow button to view more apps:

2. Login using your BlueKey credentials.

3. Select the folders you would like backed up on OneDrive.
After setup, you can always manage the folders that are backed up. Review your backup options, by clicking on the OneDrive cloud icon in the taskbar, selecting the gear icon and clicking Settings. In Settings, click Manage backup. From here you can select folders and file locations that are backed up on OneDrive. Some folders are automatically backed up and cannot be unchecked, such as Desktop, Documents, and Pictures.
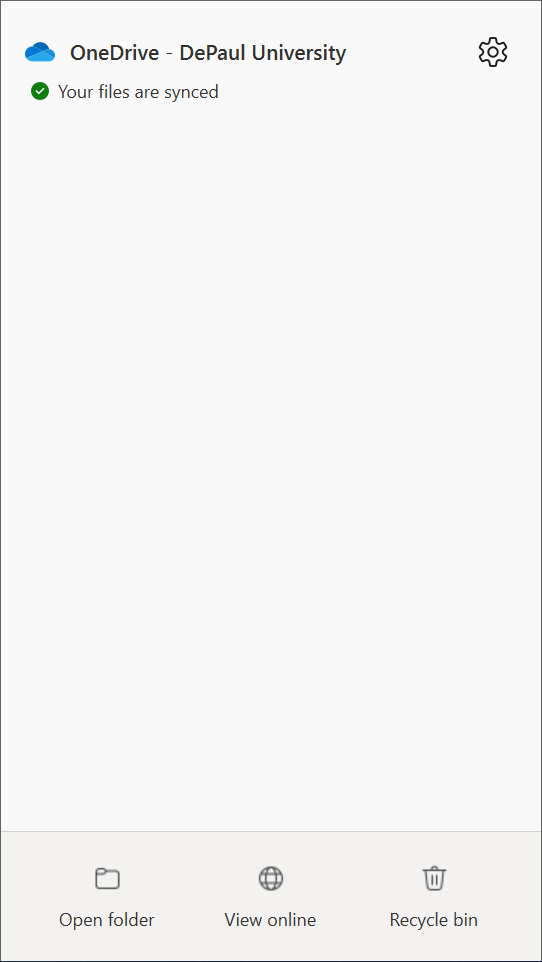
4. After logging into your OneDrive account and syncing all of your files, manage OneDrive files by clicking on the cloud icon in the taskbar.

From here, you can view files online ("View online" option), view them in File Explorer, which is the file navigator on your computer ("Open folder" option), and also change settings (gear icon) like which folders should be synced.
